
Complete Guide: Setting Up a Virtual Audio Cable (VB-CABLE) on Windows & macOS for the Audio Bridge
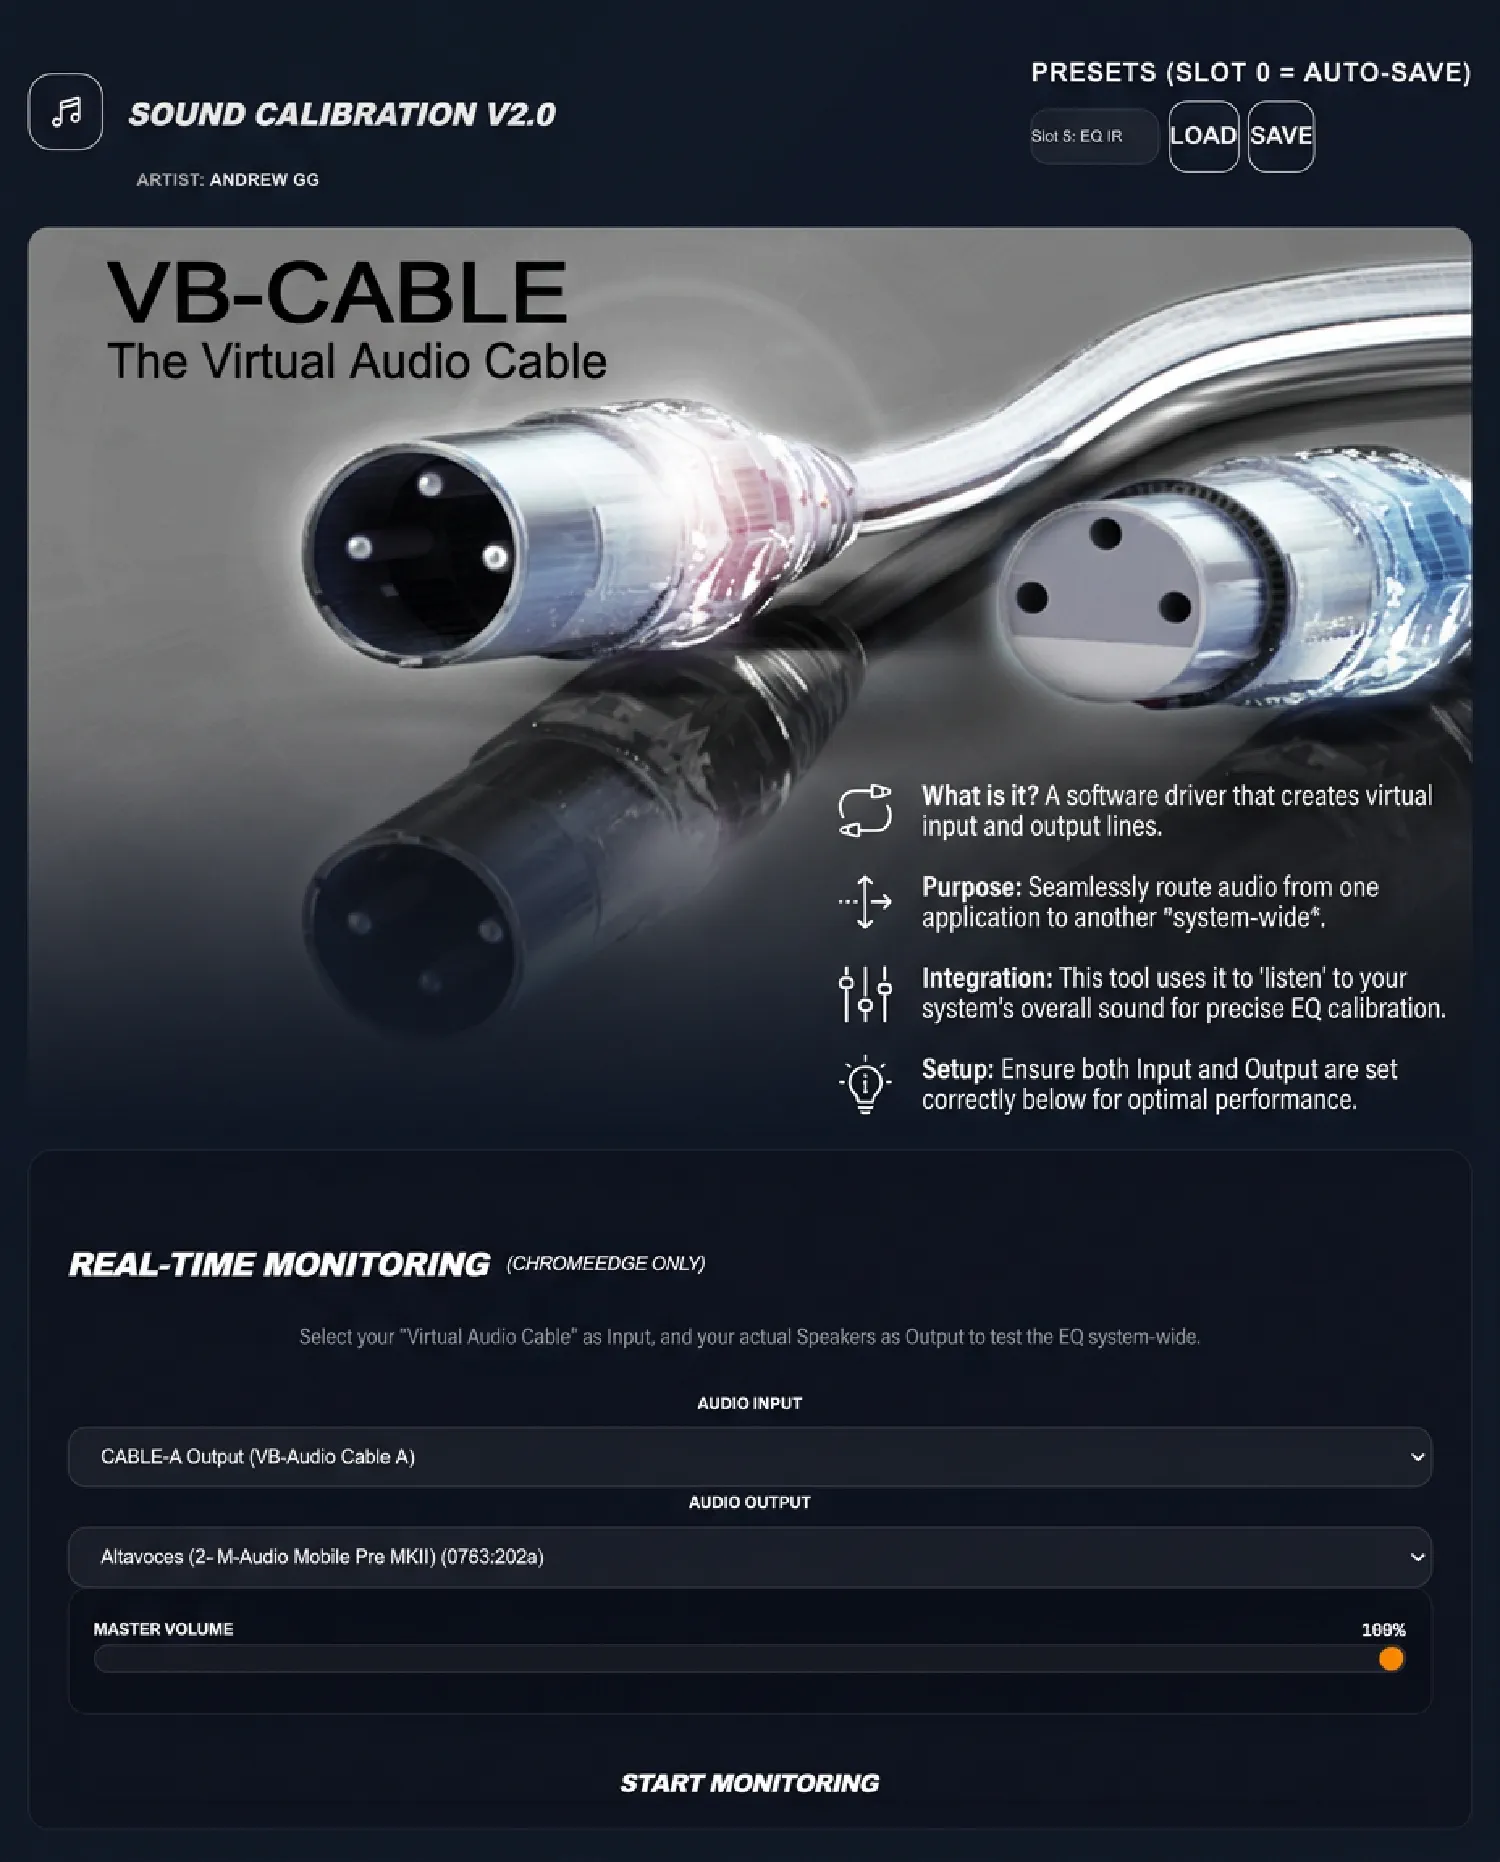
Why You Need a Virtual Audio Cable
Web browsers (Google Chrome, Microsoft Edge, Brave) do not have permission to tap directly into your computer's internal speaker output. By browser security design, WebAudio only listens to hardware or virtual Input Devices (such as microphones, line-in jacks, or studio interfaces).
If you want to send internal system audio (Spotify, YouTube, Apple Music, VLC, or a DJ mixer) or DAW output (Ableton Live, FL Studio, Logic Pro, Reaper) straight into the Synesthesia WebGL2 Visualizer, the Sound Calibration Tool, or the Community Shaders Hub, you need a Virtual Audio Cable.
Think of VB-Audio Virtual Cable (VB-CABLE) as an invisible studio patch cord inside your computer: whatever audio is sent into one end immediately comes out the other end as a clean, lossless digital input that your browser can read in real time.
Understanding the Signal Flow (CABLE Input vs. CABLE Output)
The most common source of confusion with virtual audio drivers is the naming of the two endpoints. Always think from the perspective of the virtual cable itself:
| Endpoint Name | Where It Appears in Your OS | Role in the Signal Chain |
|---|---|---|
| CABLE Input | Playback / Sound Output devices | The receiving end of the cable. You send your Windows audio, Spotify, or DAW output into here. |
| CABLE Output | Recording / Sound Input devices | The delivering end of the cable. You select this as the Input Device inside the Andrew GG Audio Bridge. |
On macOS, VB-CABLE exposes a unified loopback device named VB-Cable that appears in both your Output list and your Input list.
Part 1: Step-by-Step Setup on Windows 10 & Windows 11 (VB-CABLE)
1. Download & Extract
- Go to the official VB-Audio website: vb-audio.com/Cable/.
- Download the VB-CABLE Virtual Audio Device package for Windows (
VBCABLE_Driver_Pack45.zipor newer). - Right-click the downloaded
.zipfile and select Extract All... into a regular folder (do not run the installer from inside the compressed.zippreview window).
2. Install as Administrator & Reboot
- Open the extracted folder, right-click
VBCABLE_Setup_x64.exe(for 64-bit Windows), and click Run as administrator. - Click Install Driver and wait for the confirmation popup.
- Restart your computer. Rebooting ensures Windows registers the WDM/WASAPI endpoints cleanly.
3. Match Sample Rates (48 kHz / 24-bit Studio Quality)
Mismatched sample rates between your speakers and VB-CABLE can cause pitch drift, crackles, or silent drops.
- Press
Win + R, typemmsys.cpl, and press Enter to open the classic Windows Sound control panel. - Under the Playback tab, double-click CABLE Input (VB-Audio Virtual Cable) -> go to the Advanced tab -> select 24 bit, 48000 Hz (Studio Quality) -> click OK.
- Under the Recording tab, double-click CABLE Output (VB-Audio Virtual Cable) -> go to the Advanced tab -> select 2 channel, 24 bit, 48000 Hz (Studio Quality) -> click OK.
- Confirm your physical speakers or studio audio interface are also running at 48000 Hz (or match VB-CABLE to your interface's sample rate).
4. Choose How to Route Your Windows Audio
Pick the routing option that matches your workflow:
- Option 1: Route All Windows Audio (Fastest for Spotify, YouTube & Full-System EQ) Click the Speaker icon in the Windows taskbar (bottom-right) and change your output device from your speakers to CABLE Input (VB-Audio Virtual Cable).
- Option 2: Route Only One App (Keep Windows Notifications Separate) Open Windows Settings > System > Sound > Volume mixer, scroll to Apps, find your music player or browser (e.g., Spotify or Chrome), and change only that app's Output device to CABLE Input.
- Option 3: Route From a DAW (Ableton Live, FL Studio, Reaper, Cubase) In your DAW's Audio Settings, select CABLE Input (VB-Audio Virtual Cable) as your Audio Output Device (or route a send via VB-Audio VoiceMeeter if you use an ASIO interface and want simultaneous hardware monitoring).
5. How to Hear the Music While Visualizing or Calibrating
When you send audio into CABLE Input, Windows stops sending it directly to your speakers until you loop it back out. Choose one of the two listening methods below:
- Method A: Monitor Inside the Andrew GG Tool (Required for Sound Calibration EQ)
- Open the Sound Calibration Tool or Synesthesia Visualizer in Chrome or Edge.
- Click Activate Audio Bridge and allow microphone permission.
- Set Audio Input to
CABLE Output (VB-Audio Virtual Cable). - Set Audio Output / Output Sink to your real Headphones, Studio Monitors, or Audio Interface.
- Turn Monitoring / Start Monitoring ON. Your audio now passes through the tool's real-time audio engine (and EQ curve if calibrating) straight to your speakers.
- Method B: Zero-Latency Windows Hardware Listen (Recommended for Visuals Only)
If you want zero-latency sound directly from Windows while using the Visualizer or Community Hub:
- Open
mmsys.cpl-> switch to the Recording tab. - Double-click
CABLE Output (VB-Audio Virtual Cable). - Open the Listen tab and check Listen to this device.
- In Playback through this device, select your real Headphones or Speakers and click Apply.
- Make sure Monitoring inside the Visualizer web page is OFF so you do not hear a doubled echo.
- Open
Reminder: When your session is over, remember to switch your Windows taskbar output back to your normal speakers or headphones if you used Option 1 above.
Part 2: Step-by-Step Setup on macOS (VB-CABLE & Multi-Output Device)
1. Download & Install VB-CABLE for macOS
- Visit vb-audio.com/Cable/ and download the macOS Driver Package (
VBCable_MACDriver_Pack.dmg). - Double-click the
.dmgfile and runvb-cable-installer.pkg. - Follow the installer prompts, authorize any system audio driver prompt under System Settings > Privacy & Security, and restart your Mac.
- After rebooting, verify in System Settings > Sound that
VB-Cableappears under both Output and Input devices.
2. Choose Your macOS Routing Mode
Mode A: Loop Through the Browser (Best for Sound Calibration EQ)
- Open System Settings > Sound > Output and select
VB-Cable. - Open the Sound Calibration Tool in Google Chrome or Microsoft Edge.
- Click Activate Audio Bridge and grant Microphone permission.
- Set Audio Input to
VB-Cableand Audio Output to your Mac Speakers, Headphones, or Studio Audio Interface, then enable Monitoring.
- Open System Settings > Sound > Output and select
Mode B: Create a Multi-Output Device (Best for Zero-Latency Visualizer Sessions) macOS includes a built-in utility that splits your audio cleanly to both your speakers and
VB-Cableat the exact same time with zero browser audio delay:- Open Audio MIDI Setup (
Applications > Utilities > Audio MIDI Setup, or search via Spotlight withCmd + Space). - Click the
+button in the bottom-left corner and choose Create Multi-Output Device. - In the right-hand device list, check both your Headphones / Audio Interface and
VB-Cable. - Make sure your real Headphones / Audio Interface is set as the Primary Device (top of the list) and check the Drift Correction box next to
VB-Cable. - Match the sample rate dropdown at the top of Audio MIDI Setup to 48,000 Hz (or your interface's rate).
- Right-click your new Multi-Output Device in the left sidebar and choose Use This Device For Sound Output (or select it inside Ableton Live / Logic Pro).
- Open the Visualizer or Community Hub, click Activate Audio Bridge, and select
VB-Cableas your Input Device (keep browser Monitoring OFF, because you are already hearing native audio directly from the Multi-Output Device).
- Open Audio MIDI Setup (
Part 3: Activating the Andrew GG Audio Bridge (Chrome & Edge)
- Open andrewgg.one/visualization/, andrewgg.one/calibration/, or andrewgg.one/visualization/community/ in Google Chrome, Microsoft Edge, or Brave. (Chromium-based browsers are recommended because they support full
setSinkIdhardware output selection and multi-channel WebAudio.) - Click Activate Audio Bridge (or LINK BRIDGE).
- When the browser asks for permission to use your microphone, click Allow. (Browsers label all external and virtual audio inputs as microphones, including VB-CABLE.)
- Open the Audio Connectivity panel:
- Set Input Device to
CABLE Output (VB-Audio Virtual Cable)on Windows orVB-Cableon macOS. - Set Output Sink / Audio Output to your real speakers or interface if using browser Monitoring.
- Set Input Device to
- Play a track in your music app or DAW. You will immediately see the FFT/CQT spectrum meter react and drive every WebGL2 shader in sync with your music.
Quick Troubleshooting Checklist
- My speakers went silent after I selected
CABLE Input: This is normal until the loop is closed. Either enable Monitoring inside the Andrew GG tool with your speakers selected as Output, enable Windows Listen to this device, or configure a macOS Multi-Output Device. - The visualizer is still flat / not reacting:
Click the permissions icon on the left side of your browser's address bar, confirm Microphone is set to Allow, and double-check that Input Device inside the Audio Bridge panel is set to
CABLE Output/VB-Cablerather than your webcam or laptop microphone. Also make sure your Windows Privacy settings (Settings > Privacy & security > Microphone) allow desktop browsers to access microphones. - The audio sounds robotic, distorted, or slightly delayed:
Open
mmsys.cpl(Windows) or Audio MIDI Setup (macOS) and ensureCABLE Input,CABLE Output, and your physical audio interface are all locked to 48000 Hz (and turn on Drift Correction on macOS Multi-Output Devices). - I hear a double echo / chorus effect: You have both Windows Listen / macOS Multi-Output active and Browser Monitoring turned ON at the same time. Turn off the Monitoring checkbox inside the web tool so only your native OS output reaches your ears.